With the evenings getting darker and darker, its time to deal with after work minenance instead of after work kiting :)
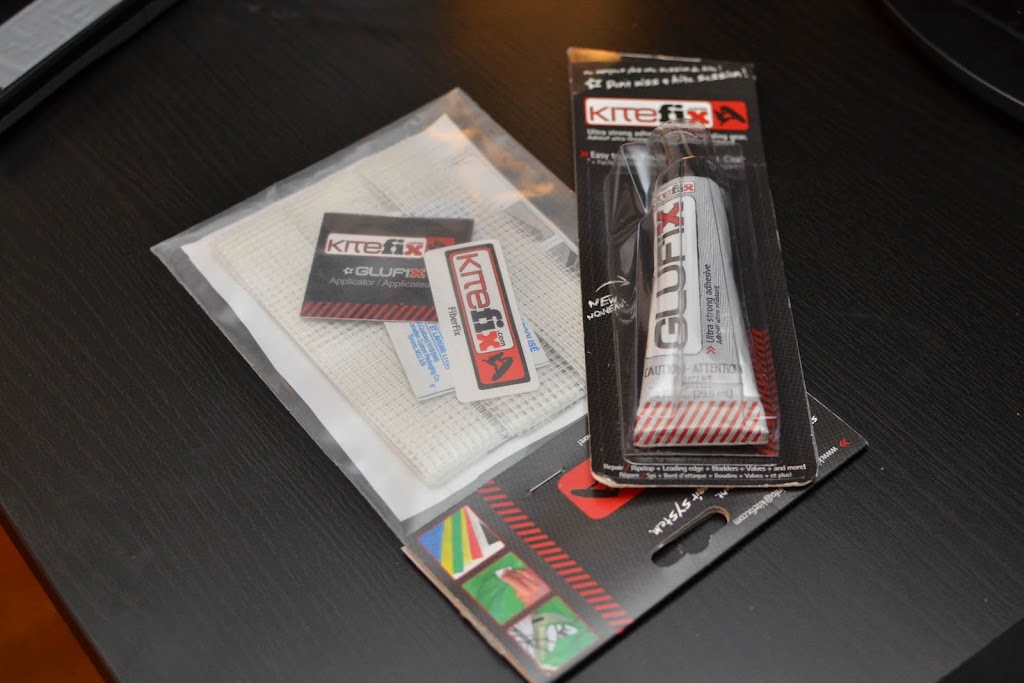
had quite a few issues so i tried out some products from kitefix.com
While they sell these as fairly cheap kits in the states, it was cheaper for me in europe to buy the tape, glue and fiber fix separately.
Overall thoughts on the 3 products are as follows:
Fiber fix:
only to be used with gluefix for reinforcement, looks pretty much identical to the tape used to smooth the space between drywalls… the fibre also tends to fll apart on the edges so careful when applying glue.
GlueFix:
Nasty stuff, drys fast and gets super sticky after a little while so if you want a smooth finish, you better get it right on the first time… trying to smooth over a place will end up making it worse. smells and feels really similar to the standard “rubber glue”
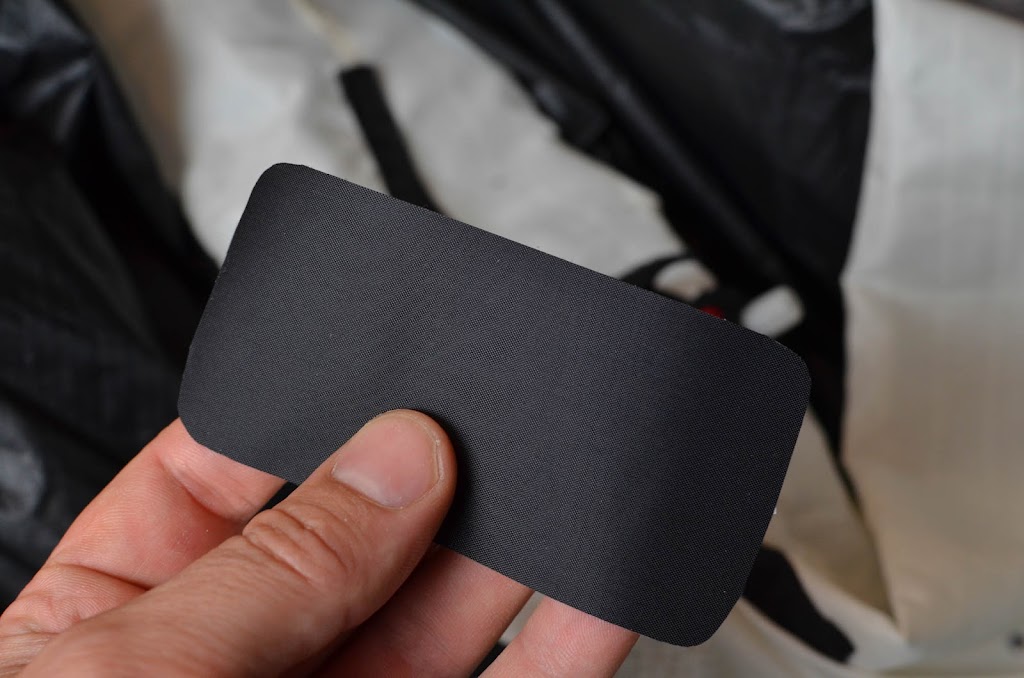
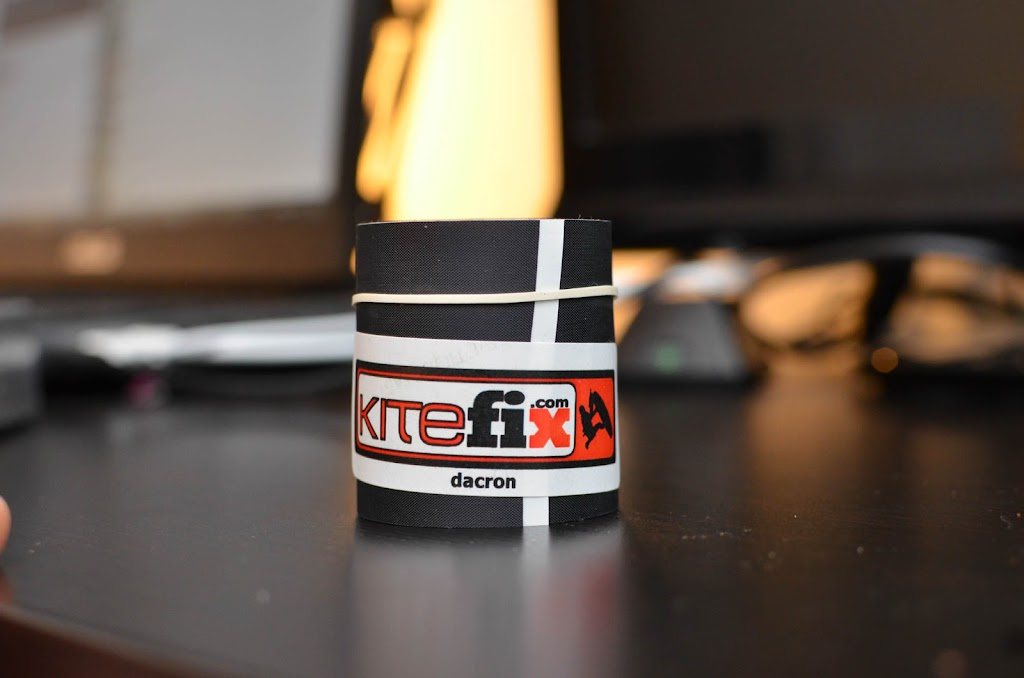
Dacron tape:
not very sticky, you can easily take it off after applying it. I think it might settle in a bit and get harder after a litte while. For smooth, flat areas with not too big rips, it should work fine… would not use it on the struts without gluefix to reinforce it though.
Bladder patches
If you prepare, clean and dry the area well, its very effective. if you apply it on damp or dirty area, you better unpeel it and try again
And heres a walkthrough of my experience:
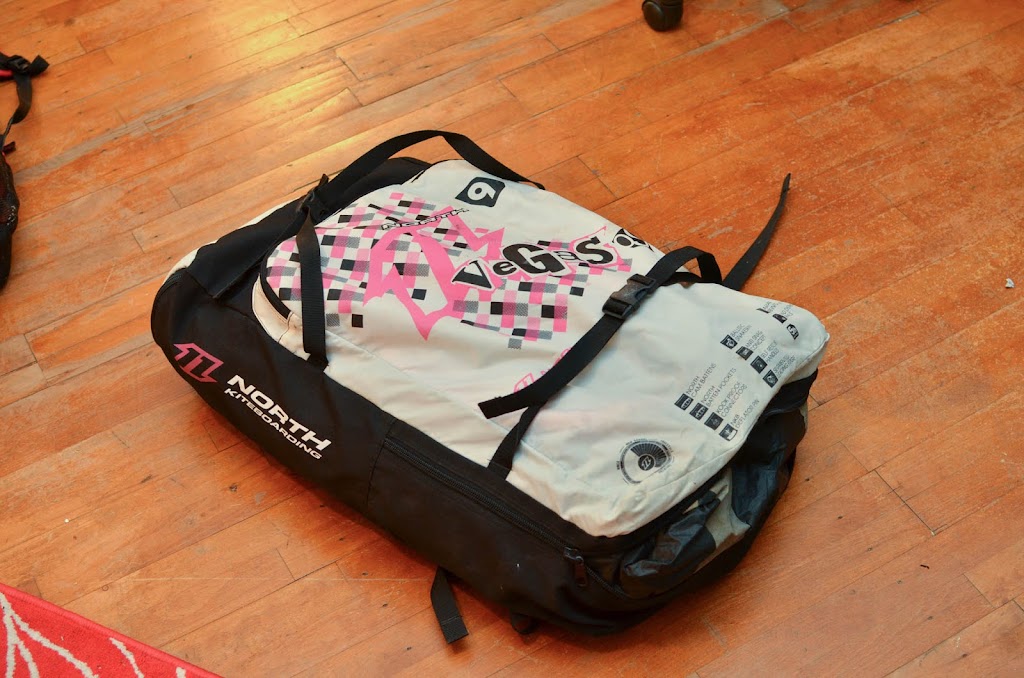
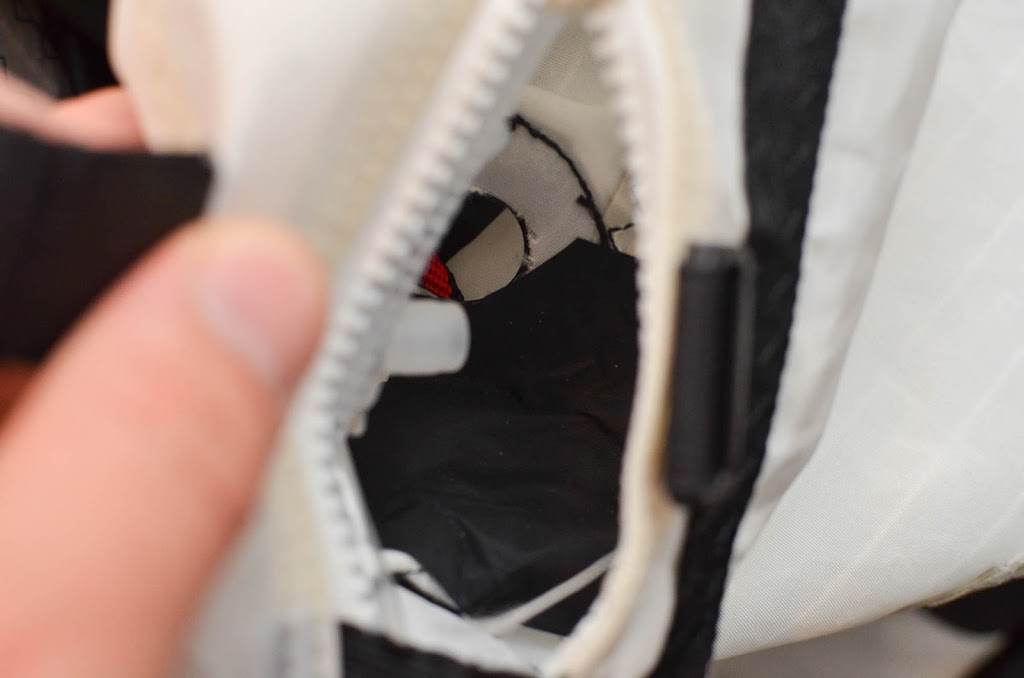
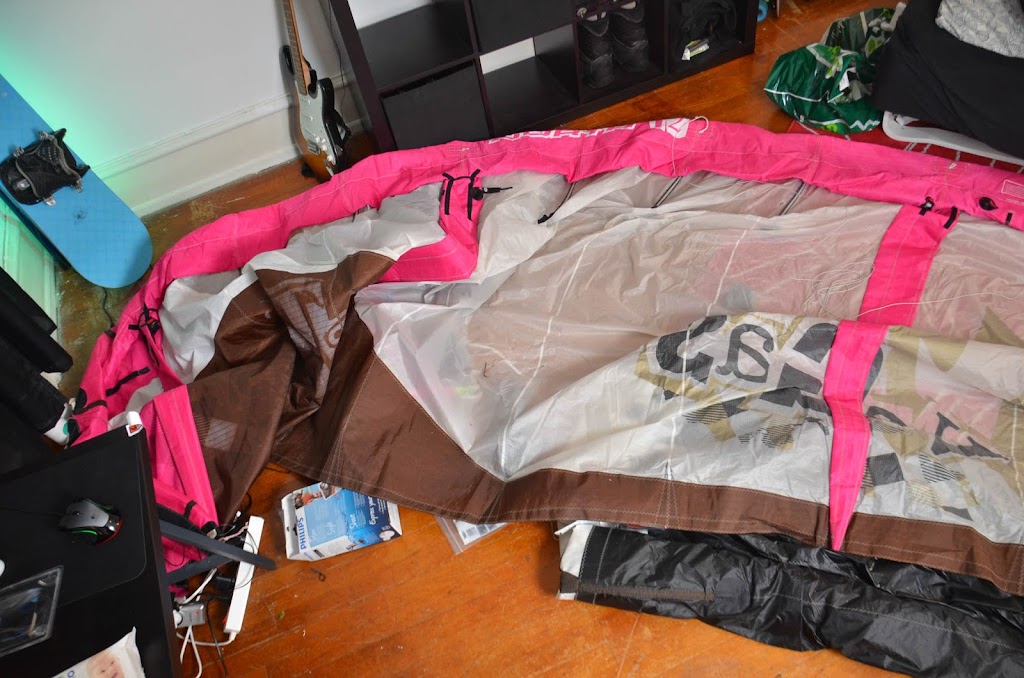
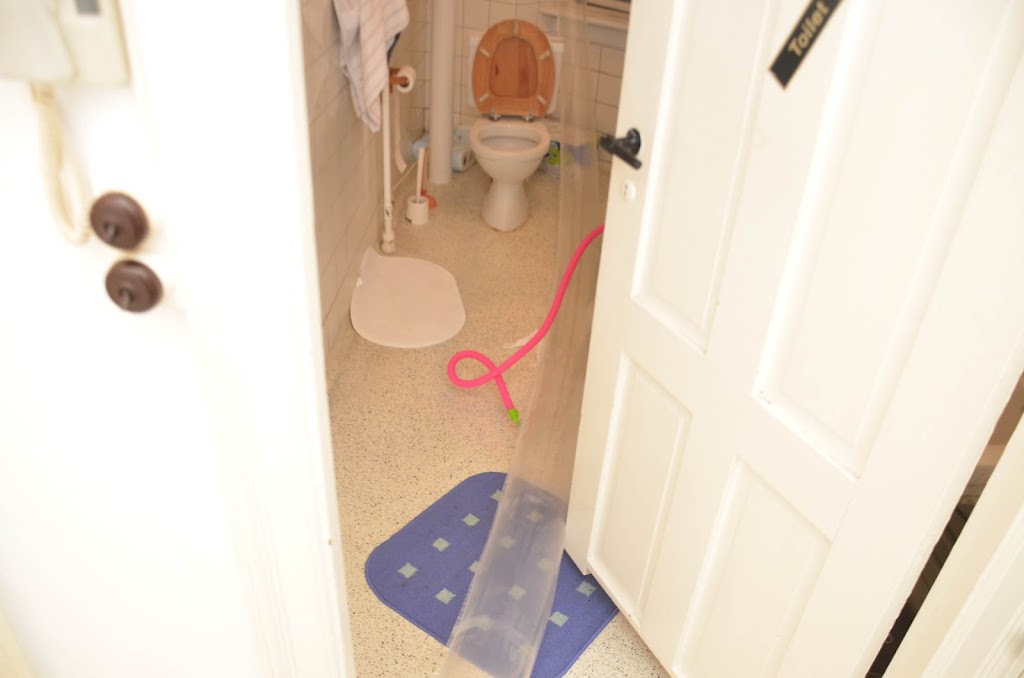
I had a north vegas with a tiny strut rip, and a leaking bladder + an ozone with a rip in the canopy
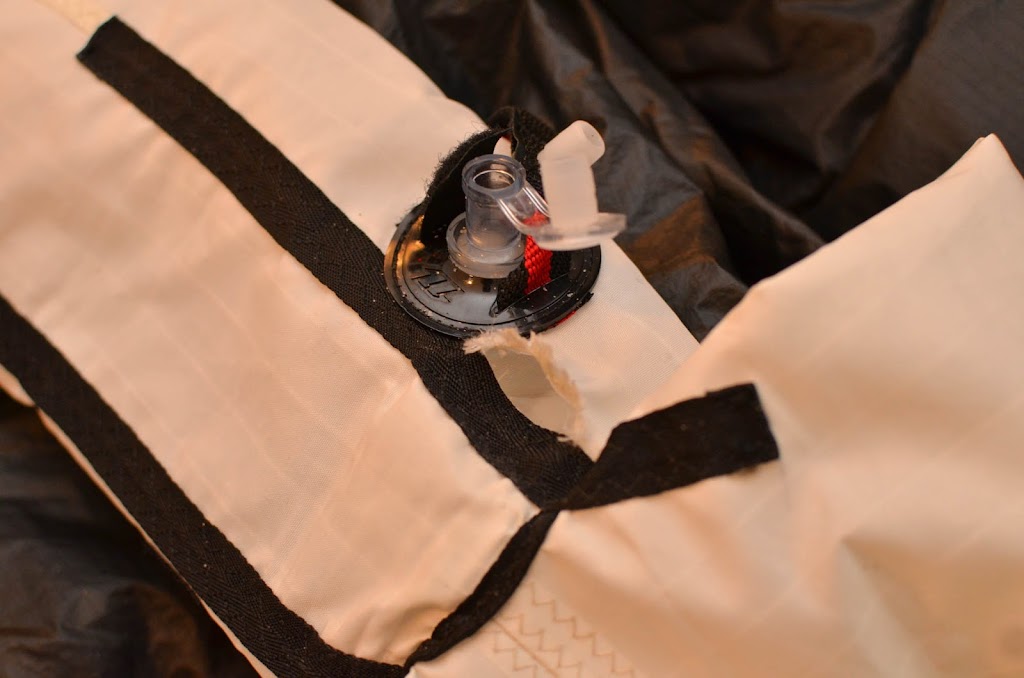
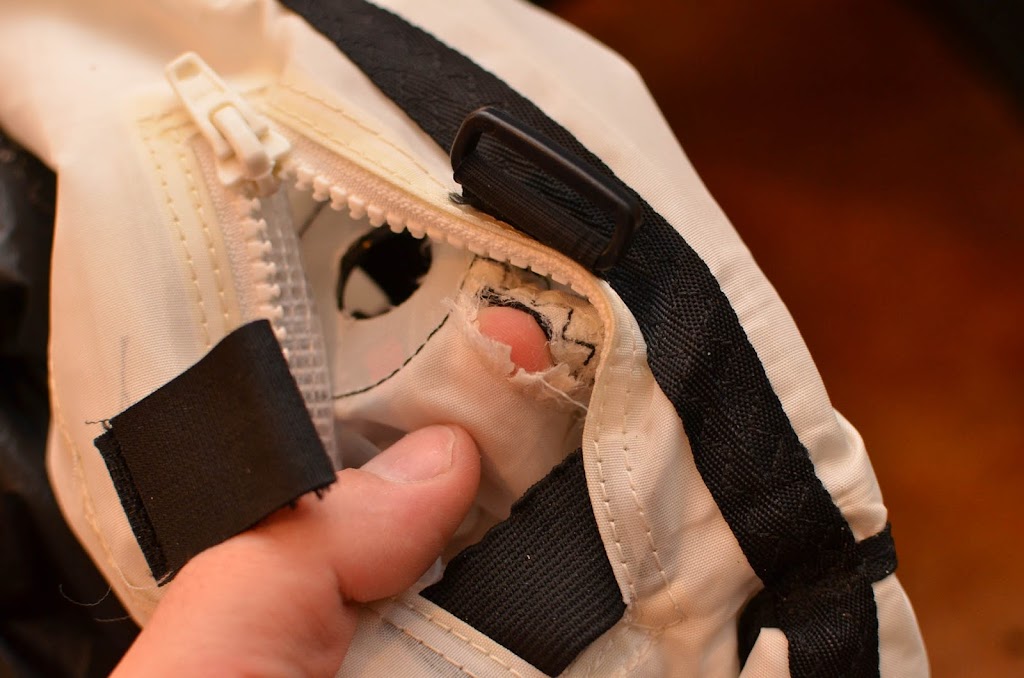
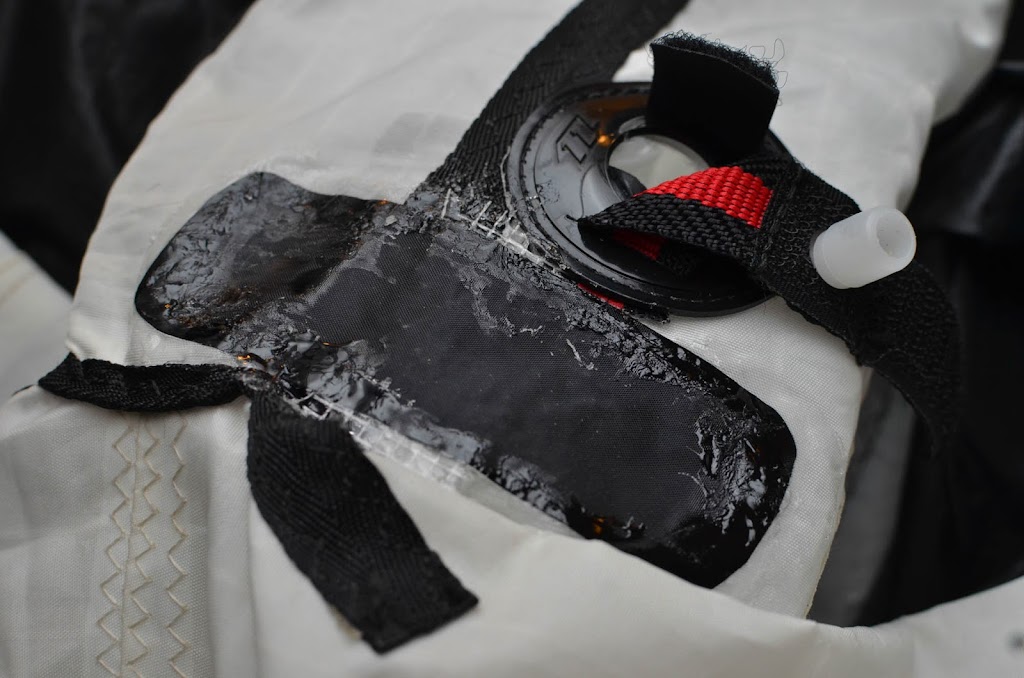
The first task was a hole in a fairly weird place so i wanted the fix to be really tough..
You need to clean both sides with alcohol (the industrial stuff that vaporizes fast) if you apply dacron on one side and then try to clean the other, you’ll end up neutralizing the glue (its not that sticky)
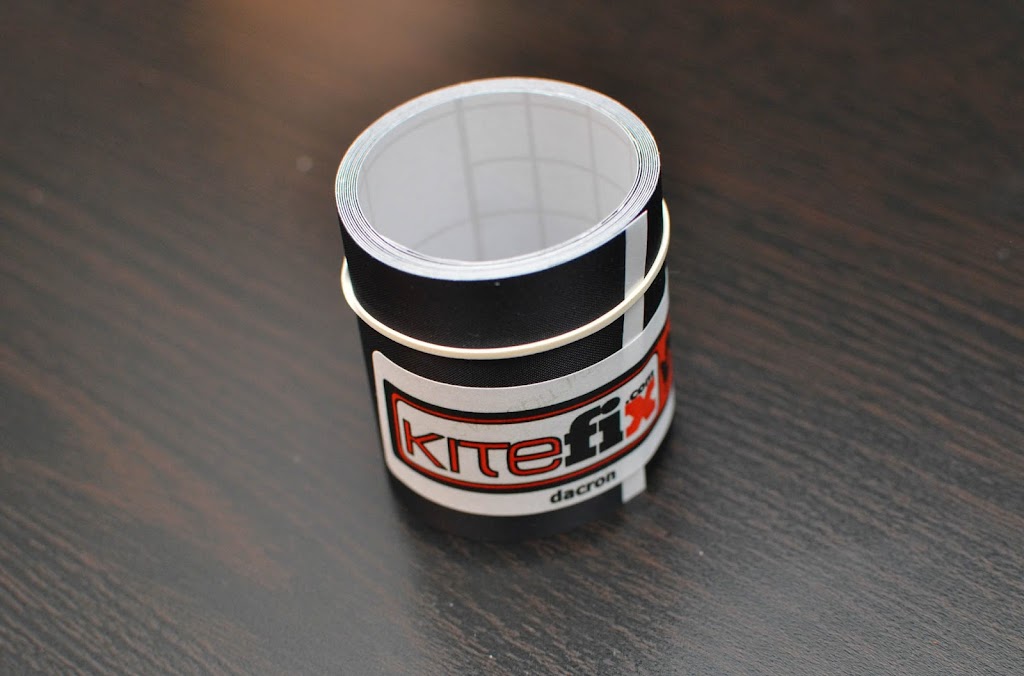
So i used their “dacron” tape on the inside to make it smooth and to use the pressure from the bladder to reinforce the patch.
pumped it up a bit to make sure there were no folds or issues
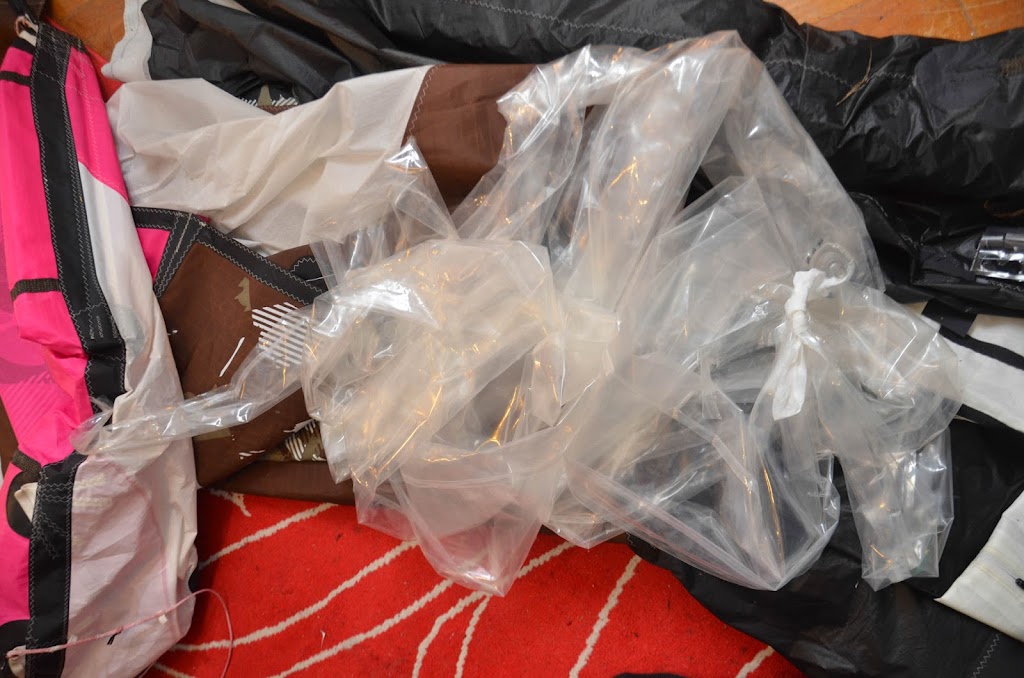
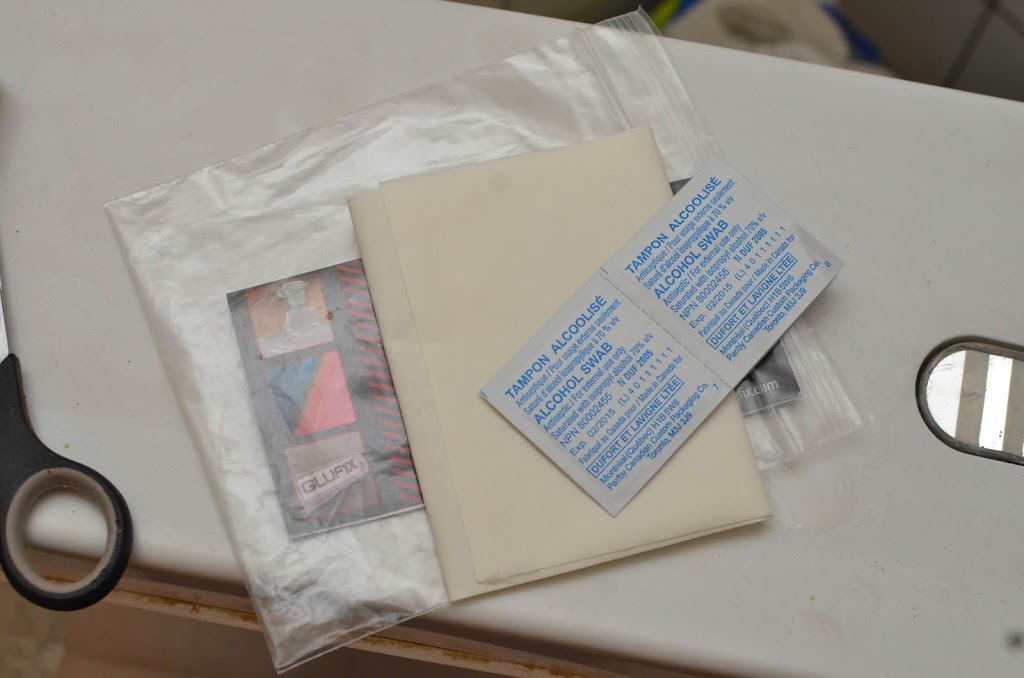
Next the glue and fiber (the packaging and its design looks like something put together in a tiny basement of a small startup… doesnt really create much trust)
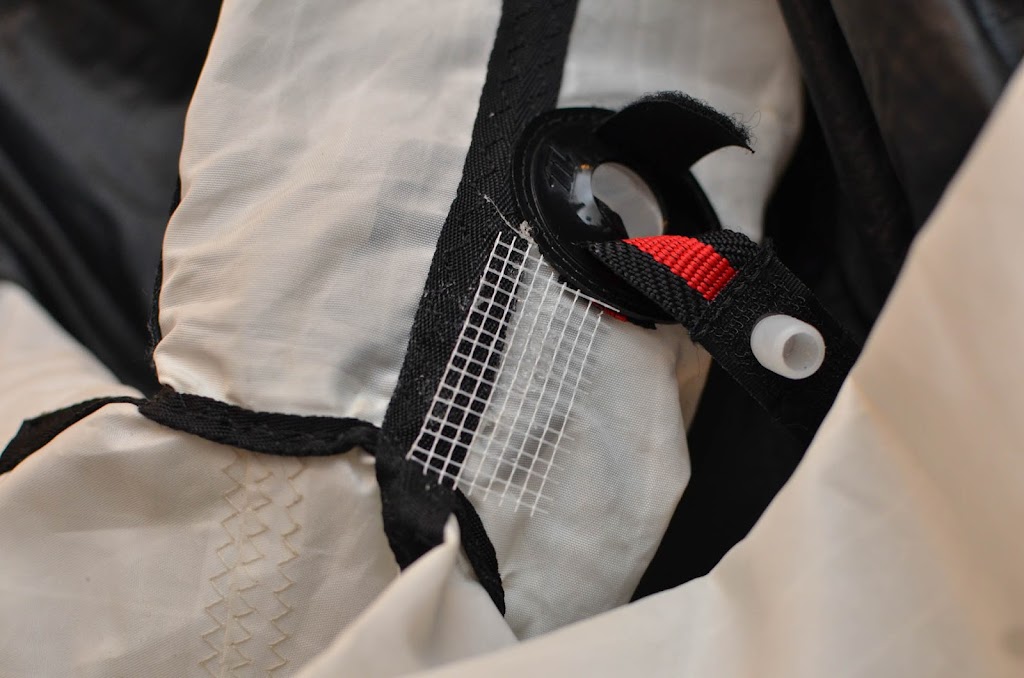
So first i added the fiberfix (supposed to reinforce the glue i guess… it has a little glue on one side but mostly just to hold it in place while you Apply the gluefix
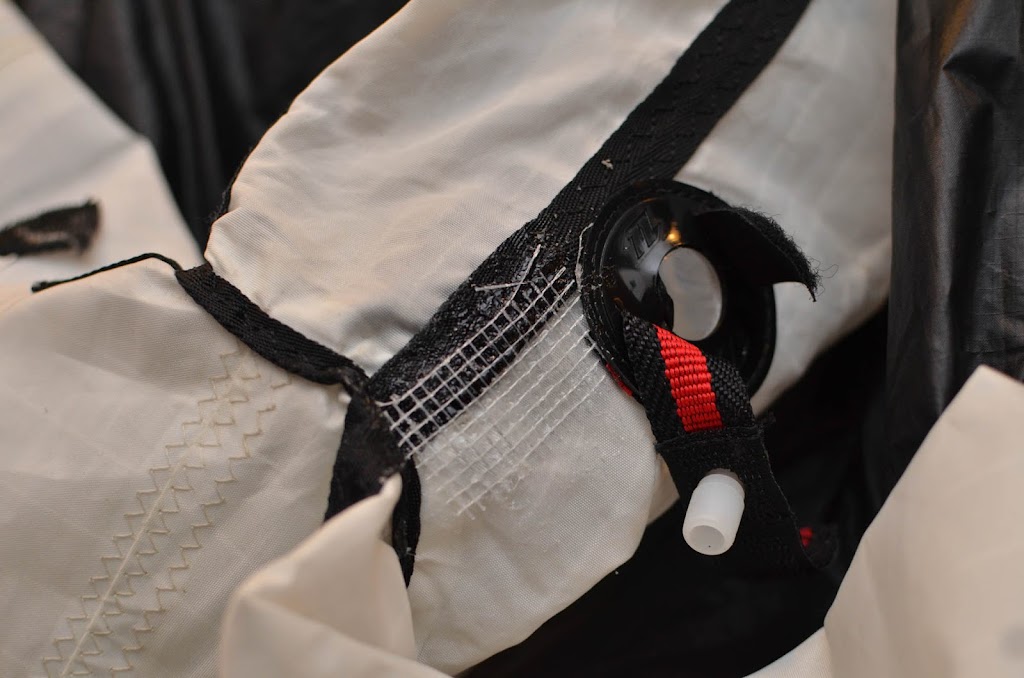
Gluefix applied… This stuff is sticky and not very smooth as the youtube videos make it seem, you can slide over it with the cardboard applier two or three times until it starts to stick to it, mking the surface uneven
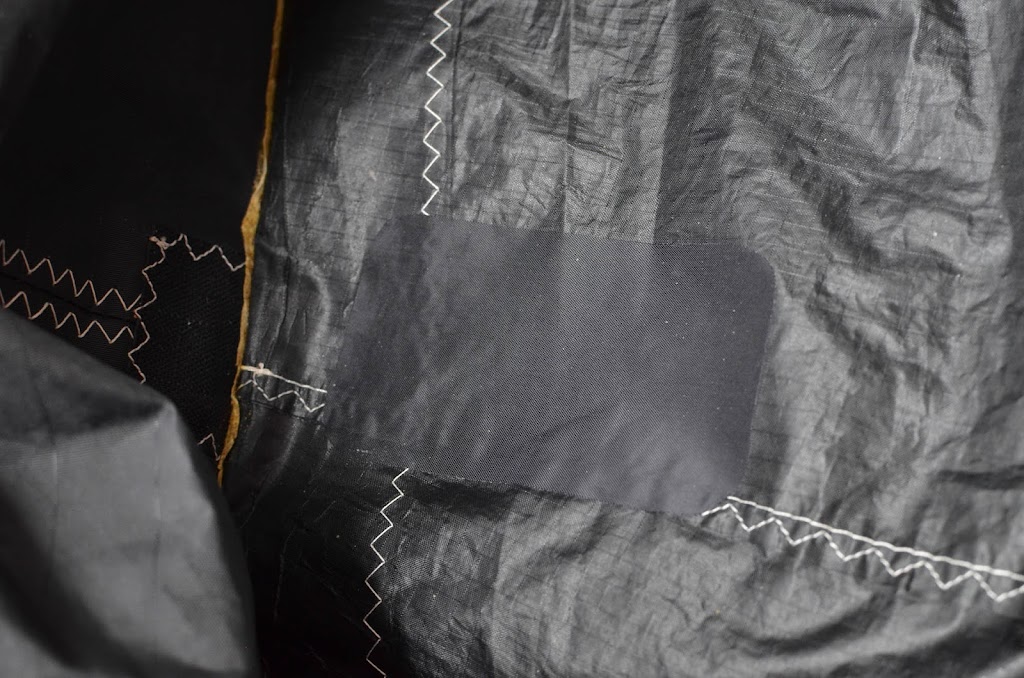
after 24h of drying
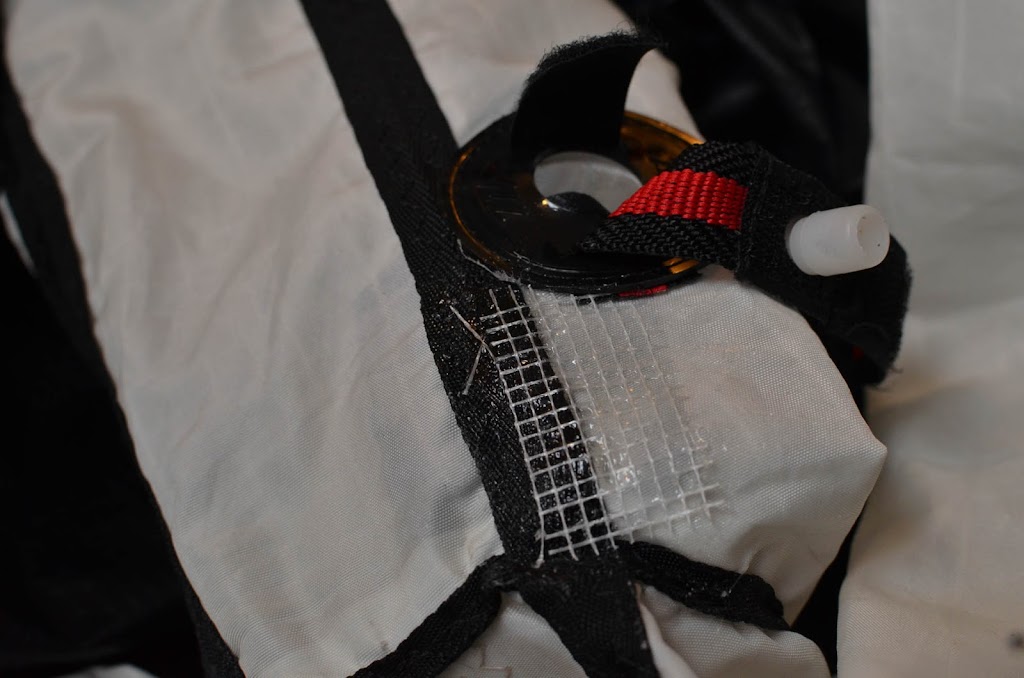
then some dacron on top….
as on the youtube videos, i applied the gluefix on the edges and then tried to smooth it out with the cardboard piece but it just drys and sticks too quick so thats a hopeless effort.. at least the patch worked and ive had a few sessions on the water with it without any issues
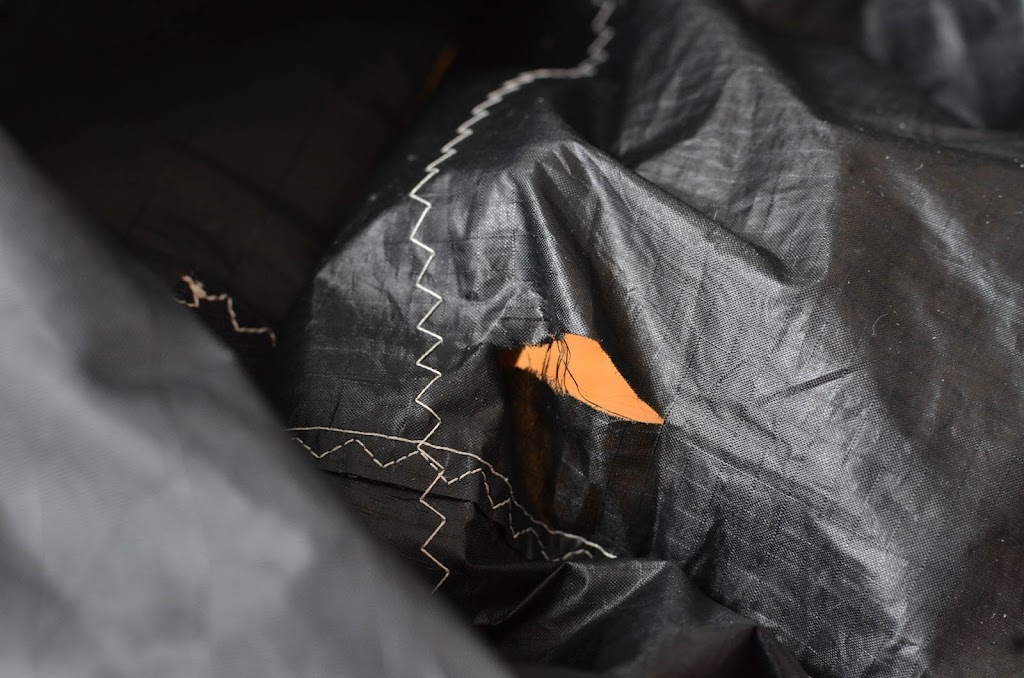
On with a standard rip… this was like 2 or 3cm

clean up with alcohol and let it dry
apply the dacron on the inside of the kite (where the wind blows)… while its not very sticky nor strong, it seems to work fairly fine on large smooth surfaces
and on with the bladder batches…. taking out the lead bladder is hell of a task so do it only if you are confidence in yourself, have a couple of hours to spend of it or if you just like frustration ;)
If possible, do it outside where you have space and less chances to damage the bladder
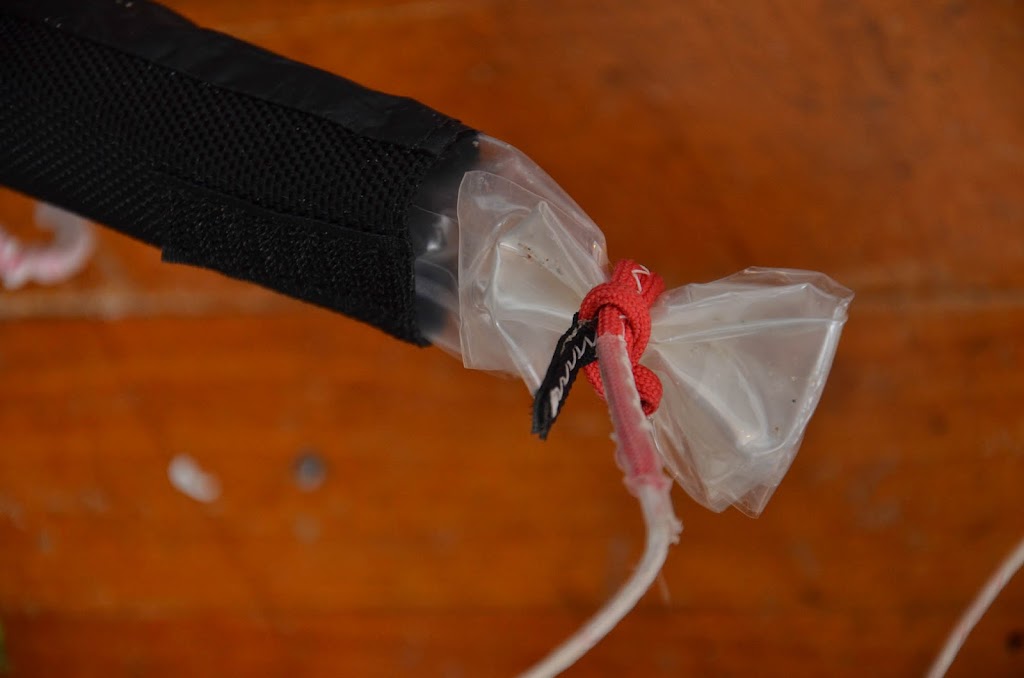
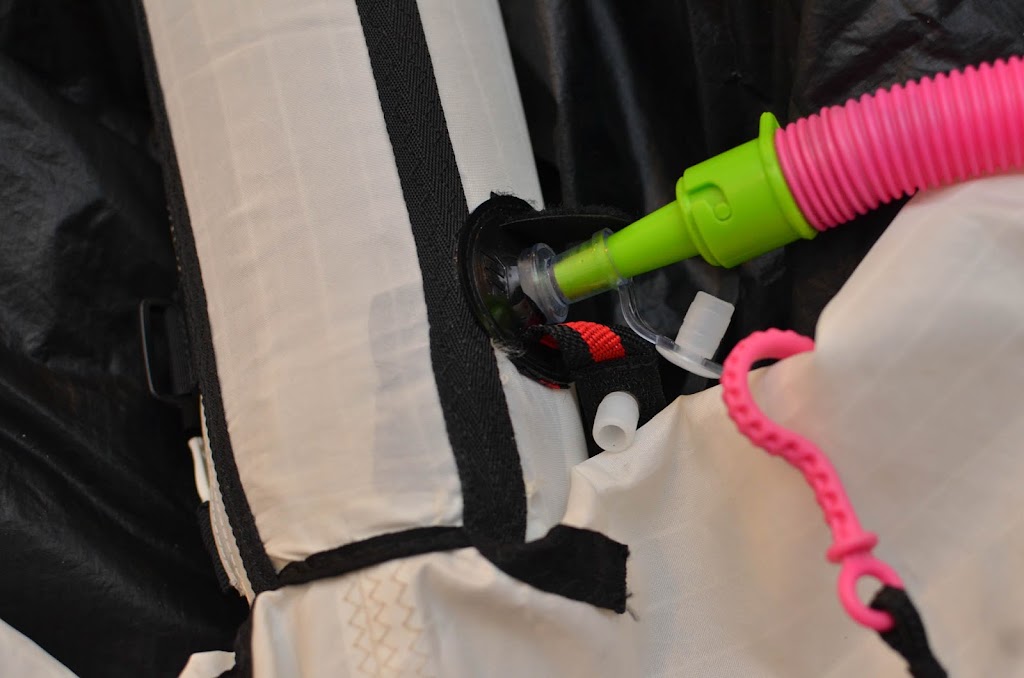
use the kite lines on both ends of the bladder
and pull it out from the middle
inflate it
in place that can get a bit wet…
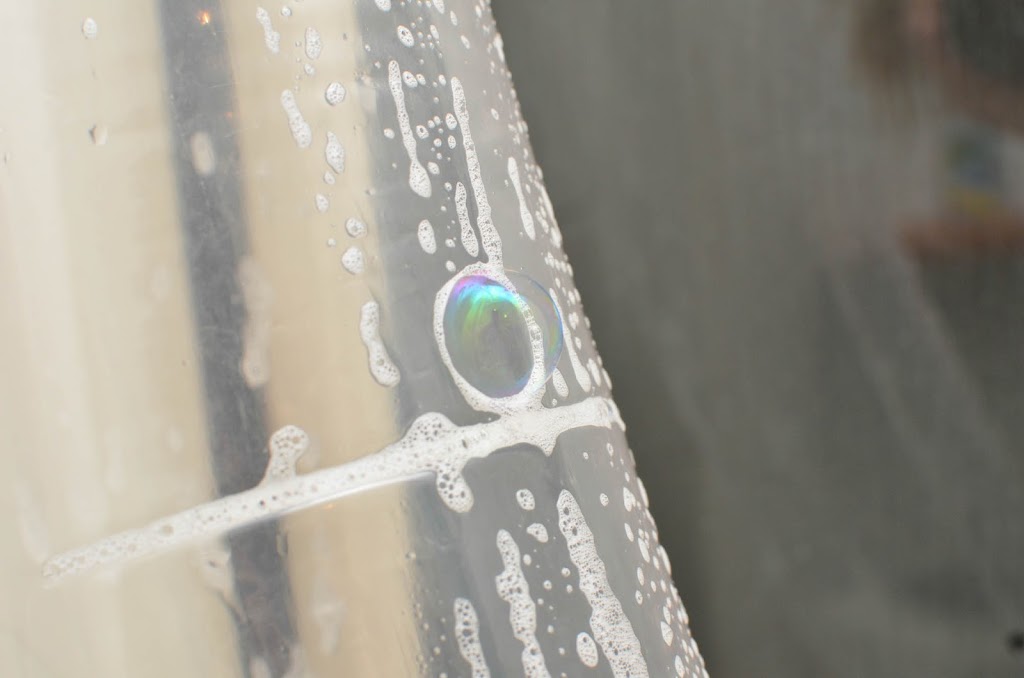
use some dish-washing soap and water to wipe over all the surfaces (a few times) until you notice stuff like this… little bubbles from air leaking out… they can be almost invisible so get yourself a waterproof marker, remember the spot, dry the spot and mark the hole (try to avoid searching for holes and taping at the same time… water compromises the glue so it gives a better result to do it when youve dryed off the bladder. ( i learned it the hard way)
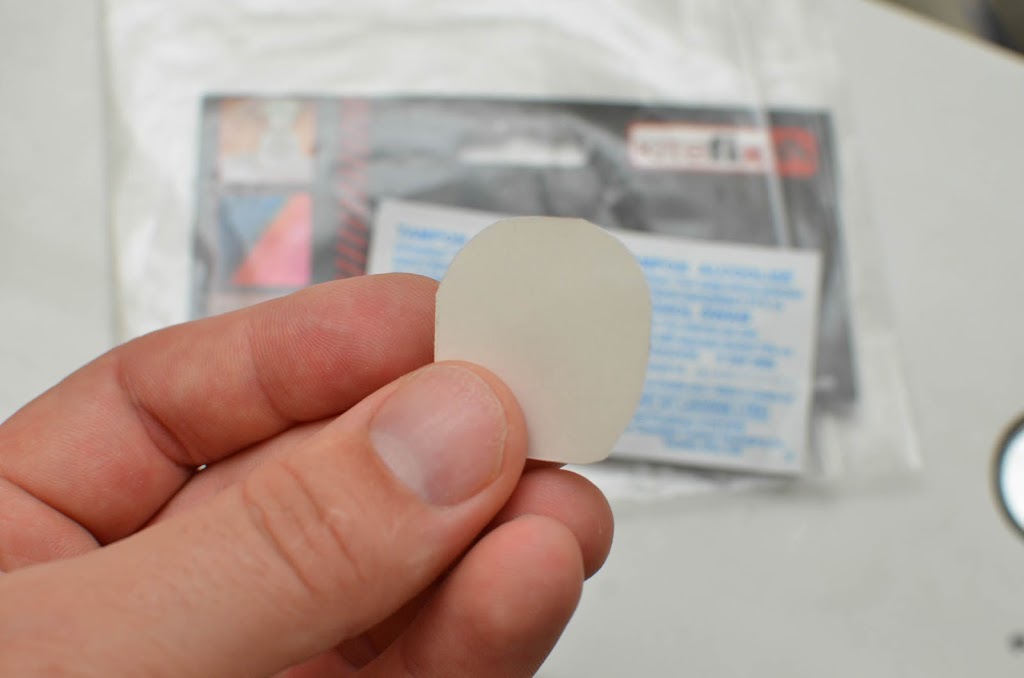
cut a piece and round the edges
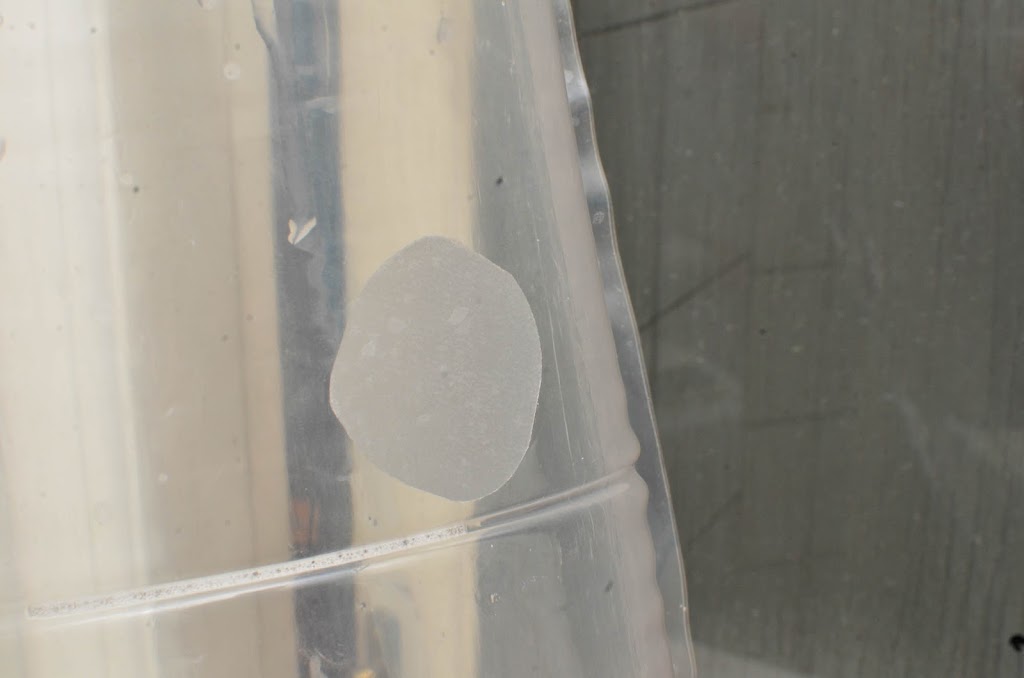
Apply the patch
The chances are that theres many leaks… i found 4 or 5 in mine so go through the whole bladder before you start patching it up
Hope this was useful ;)
Finally i quit my day job, now i earn a lot of money on-line
you should try too, just search in google – slabs
roulette system